Day 38: Getting Started with AWS Basics☁

I am Yashraj Singh Sisodiya, a 3rd Year CSE student at SVVV, born and raised in Shujalpur. Currently residing in Indore, I'm passionate about pursuing a career in DevOps engineering. My tech journey began with an internship at Infobyte, honing my skills as an Android Developer intern. Alongside my academic pursuits, I actively participate in co-curriculars, holding roles as Technical Lead at Abhyudaya and Cloud Lead at GDSC SVVV, while also serving as an MLSA of my college.
I have a keen interest in Cloud Computing, demonstrated through projects such as User management and Backup using shell scripting Linux, Dockerizing applications, CI/CD with Jenkins, and deploying a 3-tier application on AWS. Always eager to learn, I'm committed to expanding my knowledge and skills in the ever-evolving tech landscape.
Getting Started with AWS: A Beginner's Guide to IAM and EC2
Introduction
Amazon Web Services (AWS) is a leading cloud provider offering a range of services for building, deploying, and managing applications in the cloud. In this beginner-friendly guide, we'll explore two essential AWS services: IAM (Identity and Access Management) and EC2 (Elastic Compute Cloud). By the end of this tutorial, you'll have a solid understanding of IAM users, groups, policies, and how to launch EC2 instances.
Understanding IAM
IAM (Identity and Access Management) is a crucial service in AWS that allows you to manage user access to resources securely. With IAM, you can control who has access to your AWS resources and what actions they can perform.
IAM Basics
IAM allows you to create users, groups, roles, and policies. Users represent individuals who interact with AWS, while groups are collections of users with similar permissions.
IAM Policies
Policies are JSON documents that define permissions. They specify the actions that are allowed or denied for a particular resource. Policies can be attached to users, groups, or roles.
IAM Roles
Roles are similar to users but are meant to be assumed by AWS services or resources. They provide temporary permissions to access AWS resources.
Task 1: Creating an IAM User and Launching an EC2 Instance
Now, let's get hands-on with IAM and EC2 by completing the following tasks:
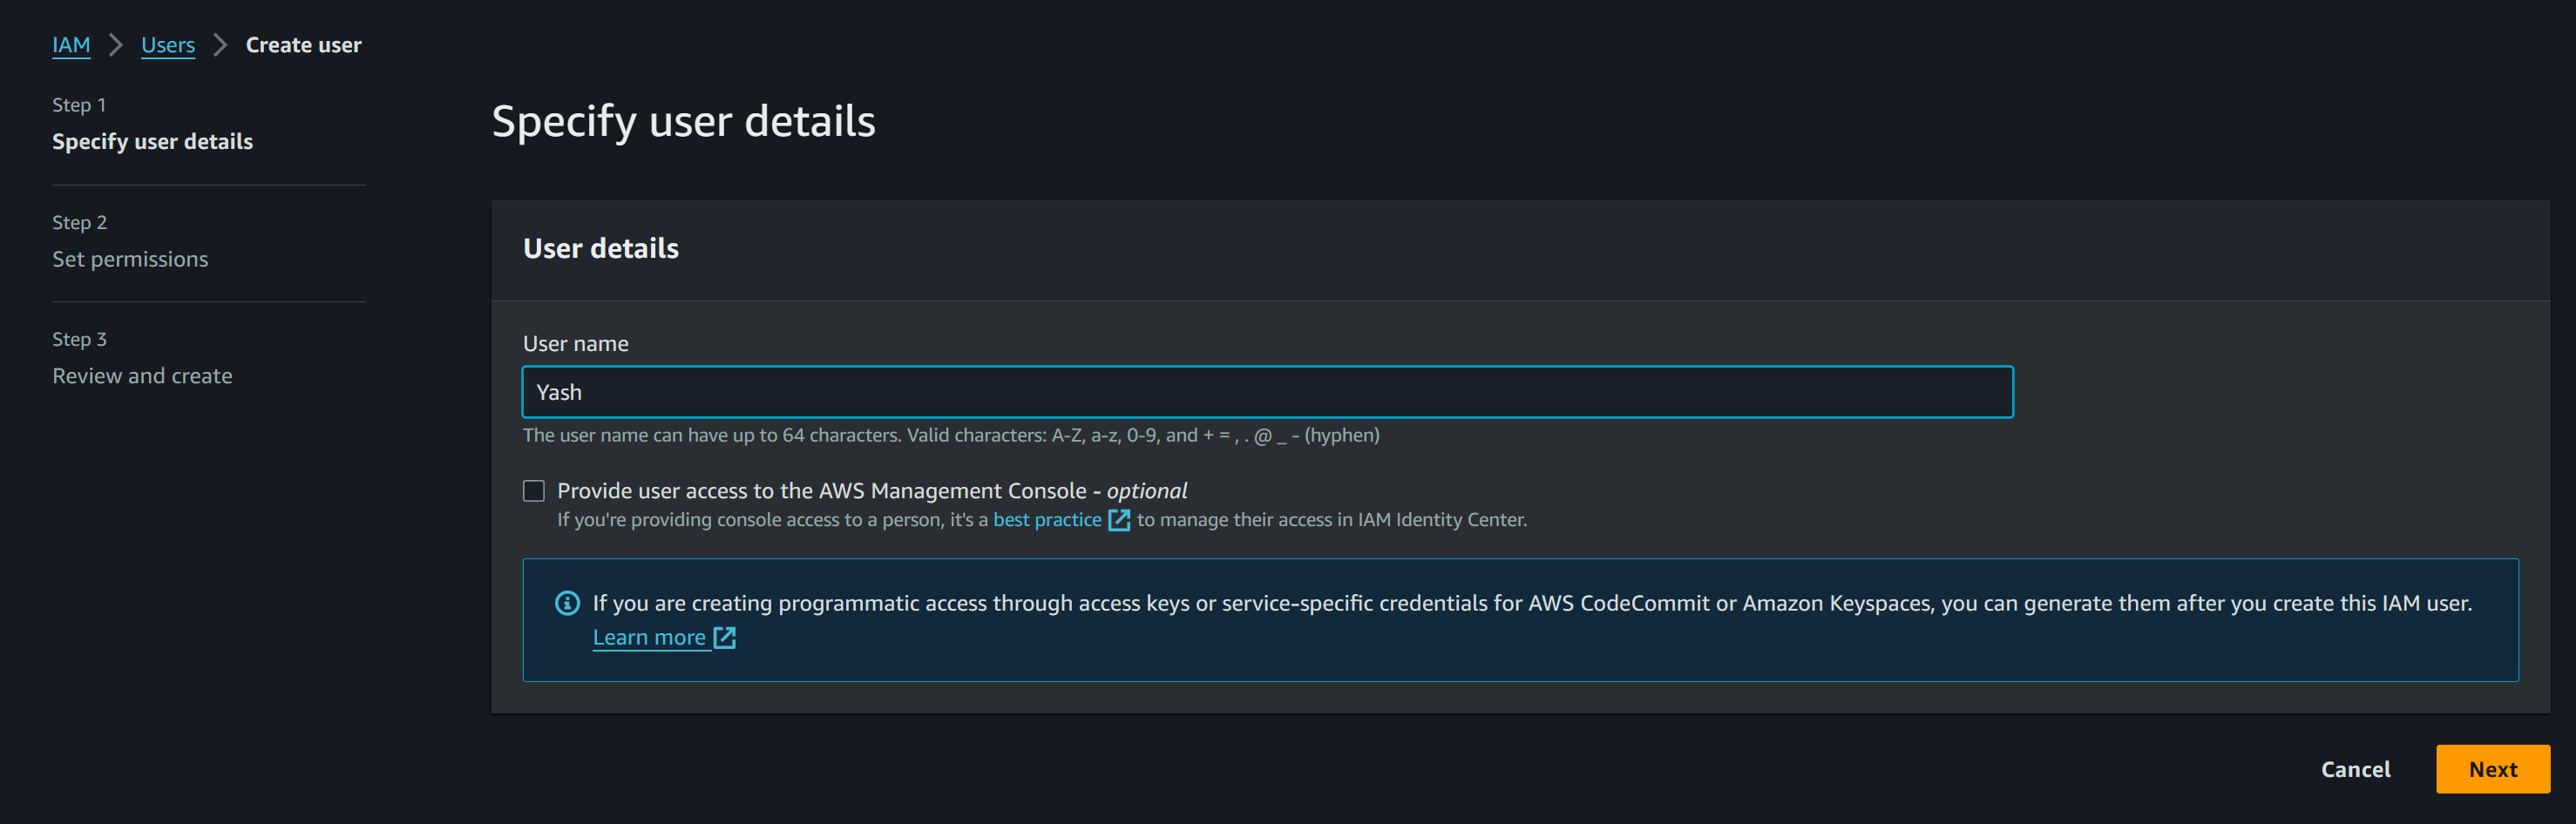
Step 1: Create an IAM User
Log in to your AWS Management Console.
Navigate to the IAM service.
Click on "Users" and then "Add user".
Enter a username of your choice and select "Programmatic access" as the access type.
Attach an existing policy called "AmazonEC2FullAccess" to grant EC2 permissions.
Complete the user creation process and make a note of the Access Key ID and Secret Access Key.
Step 2: Launch an EC2 Instance
Navigate to the EC2 Dashboard.
Click on "Launch Instance" to start the instance creation process.
Choose an Amazon Machine Image (AMI), instance type, and configure instance details.
In the "Configure Security Group" step, ensure SSH (port 22) and HTTP (port 80) access is allowed.
Review and launch the instance, selecting the IAM user you created earlier for authentication.
Step 3: Install Jenkins and Docker via Shell Script
SSH into your EC2 instance using the provided key pair.
Create a shell script to install Jenkins and Docker.
Execute the shell script to install the required software packages.
 #!/bin/bash

 # Update package index
 sudo apt update

 # Install Java
 sudo apt install -y openjdk-8-jdk

 # Install Jenkins
 wget -q -O - https://pkg.jenkins.io/debian-stable/jenkins.io.key | sudo apt-key add -
 sudo sh -c 'echo deb https://pkg.jenkins.io/debian-stable binary/ > /etc/apt/sources.list.d/jenkins.list'
 sudo apt update
 sudo apt install -y jenkins

 # Install Docker
 sudo apt install -y apt-transport-https ca-certificates curl gnupg-agent software-properties-common
 curl -fsSL https://download.docker.com/linux/ubuntu/gpg | sudo apt-key add -
 sudo add-apt-repository "deb [arch=amd64] https://download.docker.com/linux/ubuntu $(lsb_release -cs) stable"
 sudo apt update
 sudo apt install -y docker-ce docker-ce-cli containerd.io

 # Add Jenkins user to the Docker group
 sudo usermod -aG docker jenkins

 # Restart Jenkins service
 sudo systemctl restart jenkins
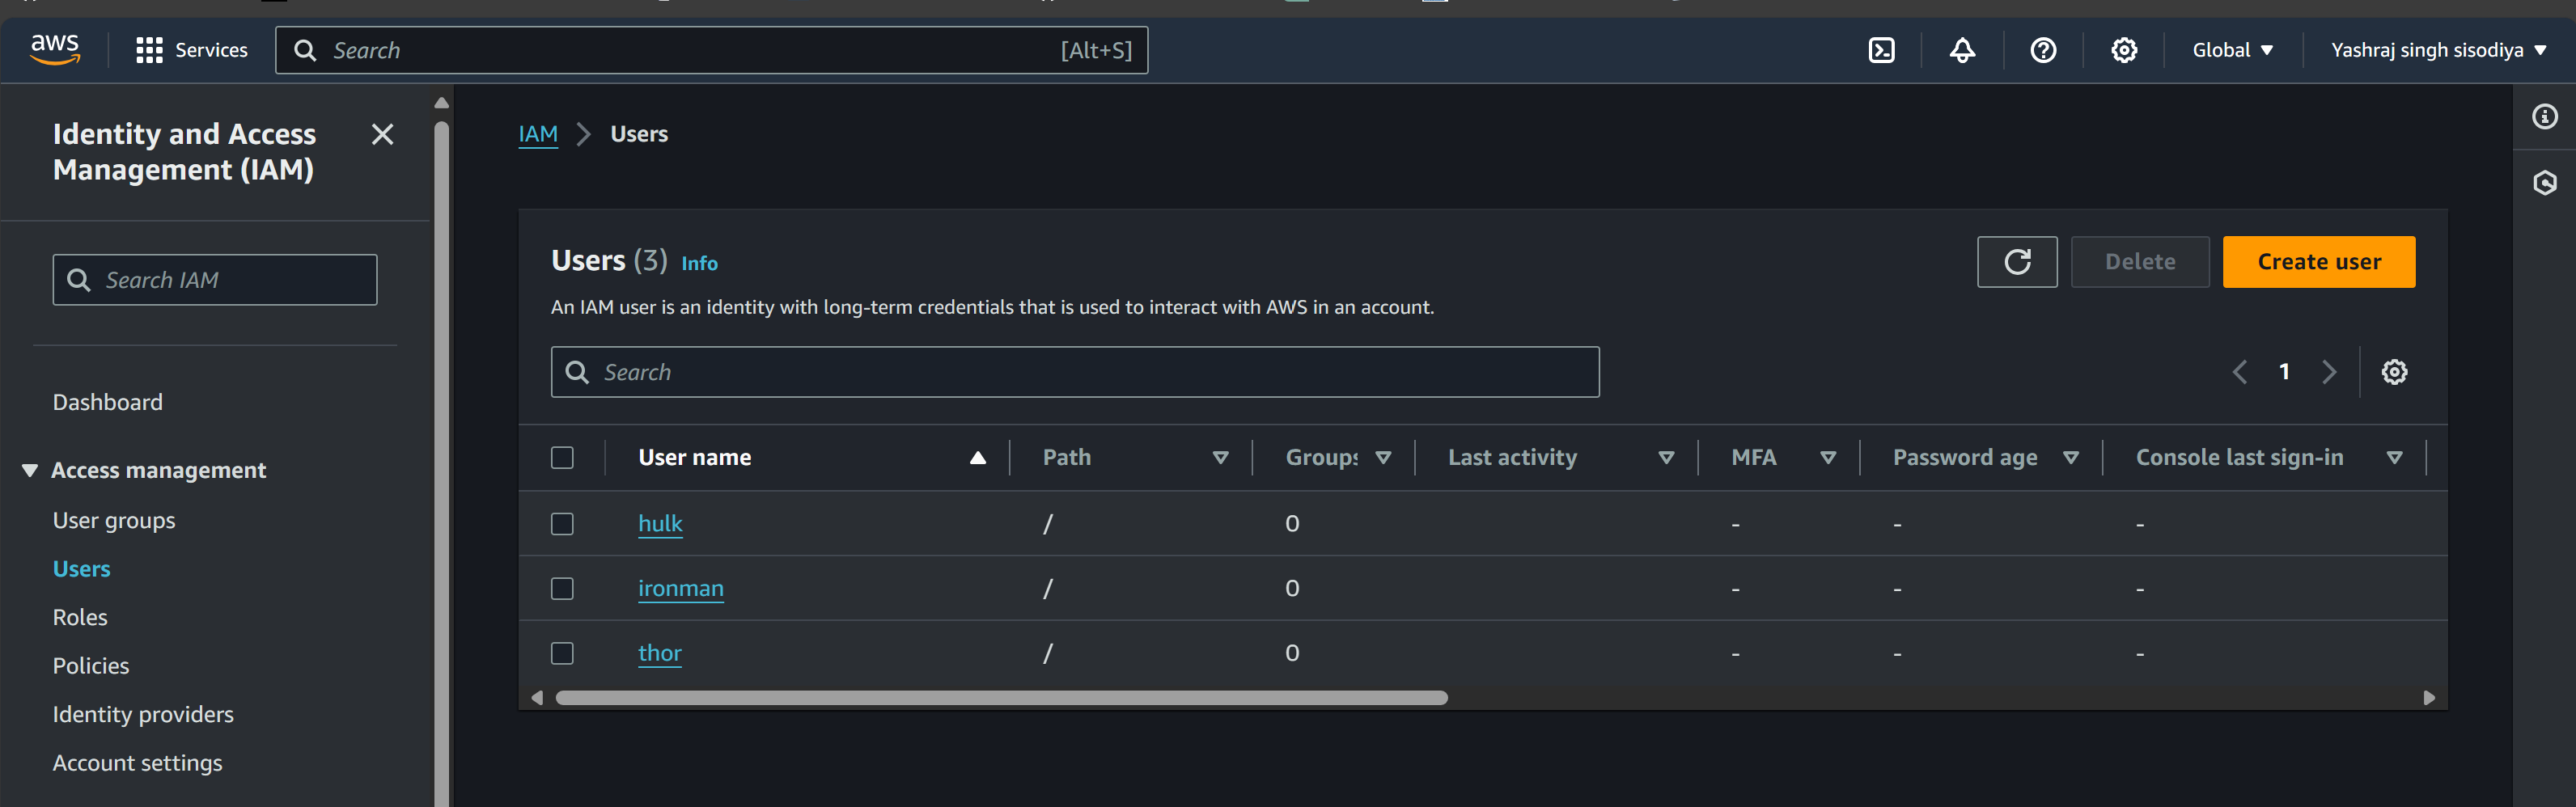
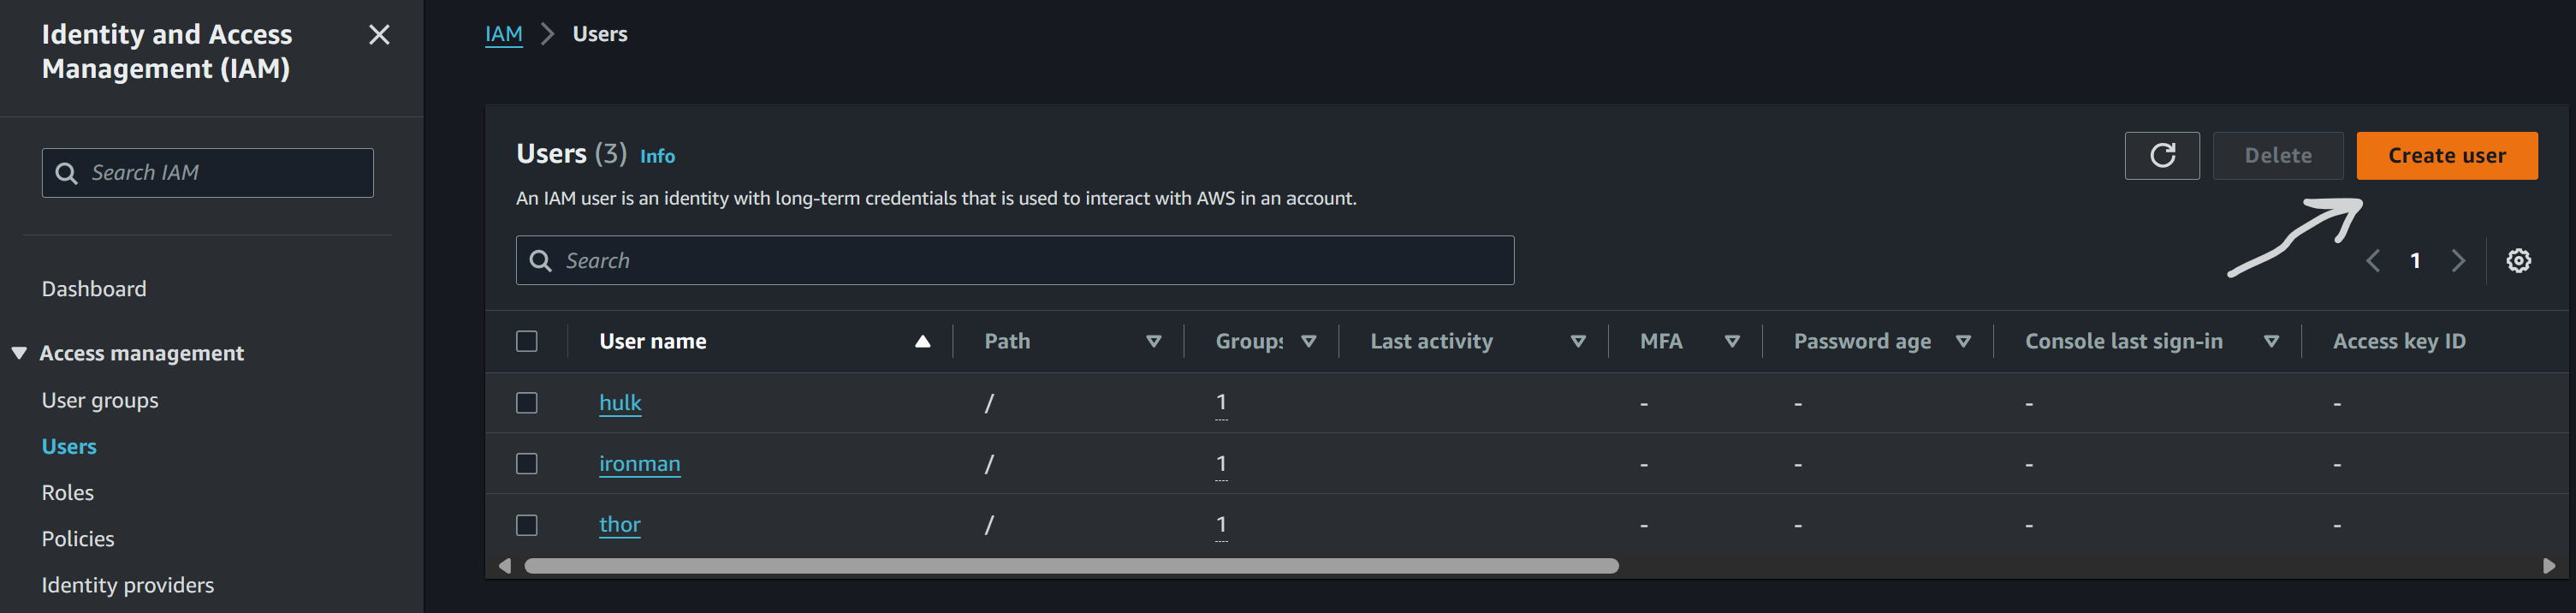
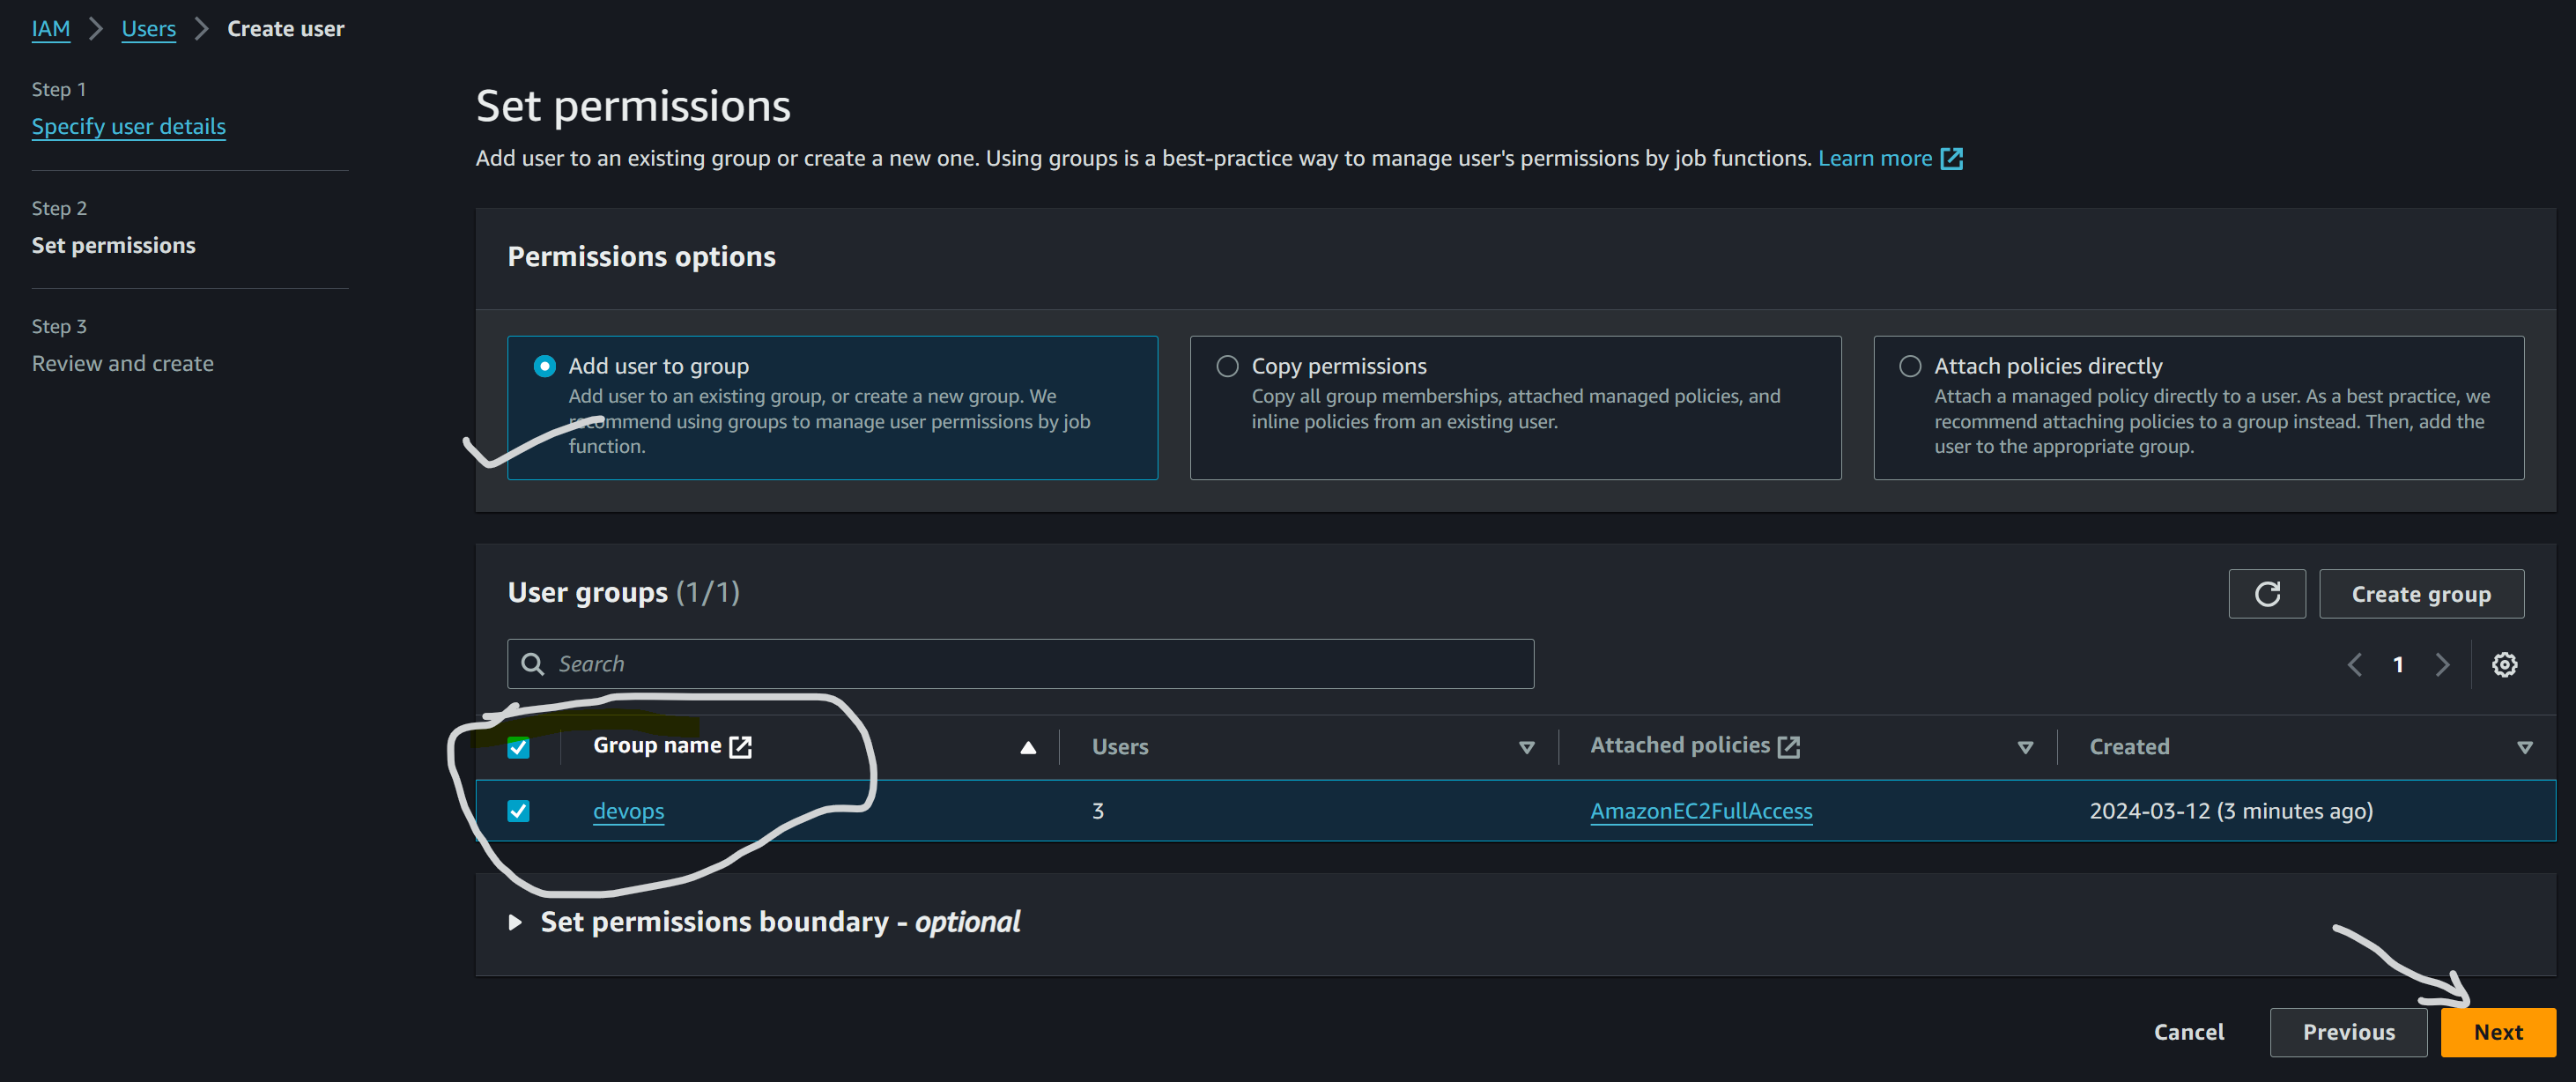
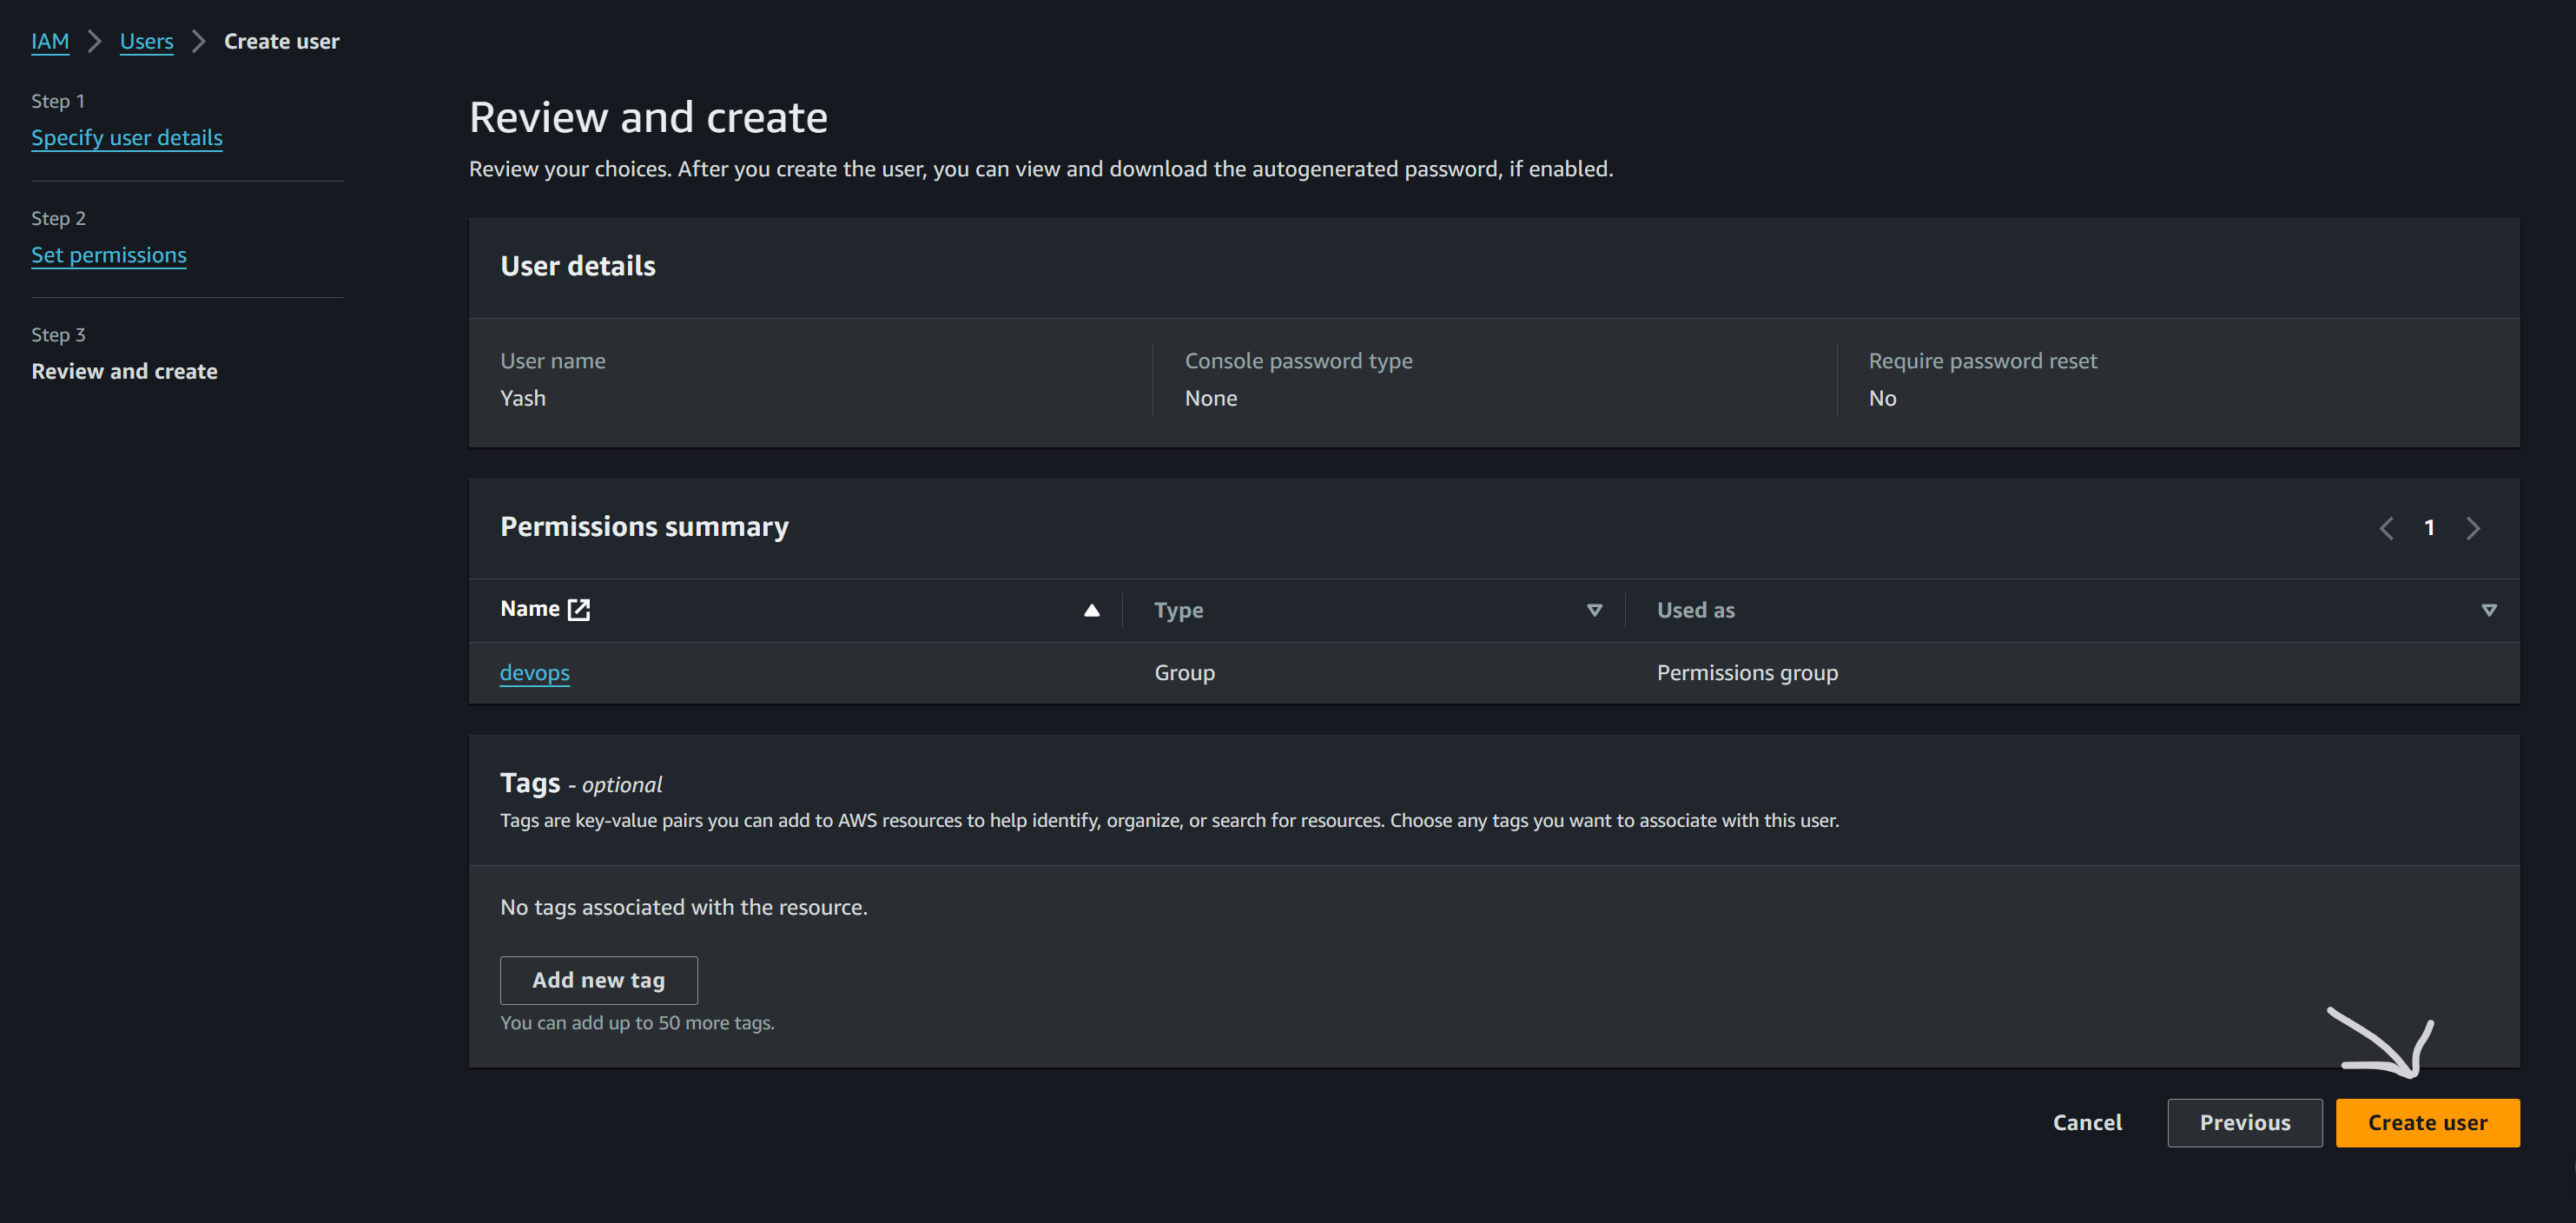
Task 2: Creating IAM Users and Groups
Now, let's move on to creating IAM users for our fictional devops team, the Avengers:
Step 1: Create IAM Users
Navigate to the IAM Dashboard.
Click on "Users" and then "Add user".
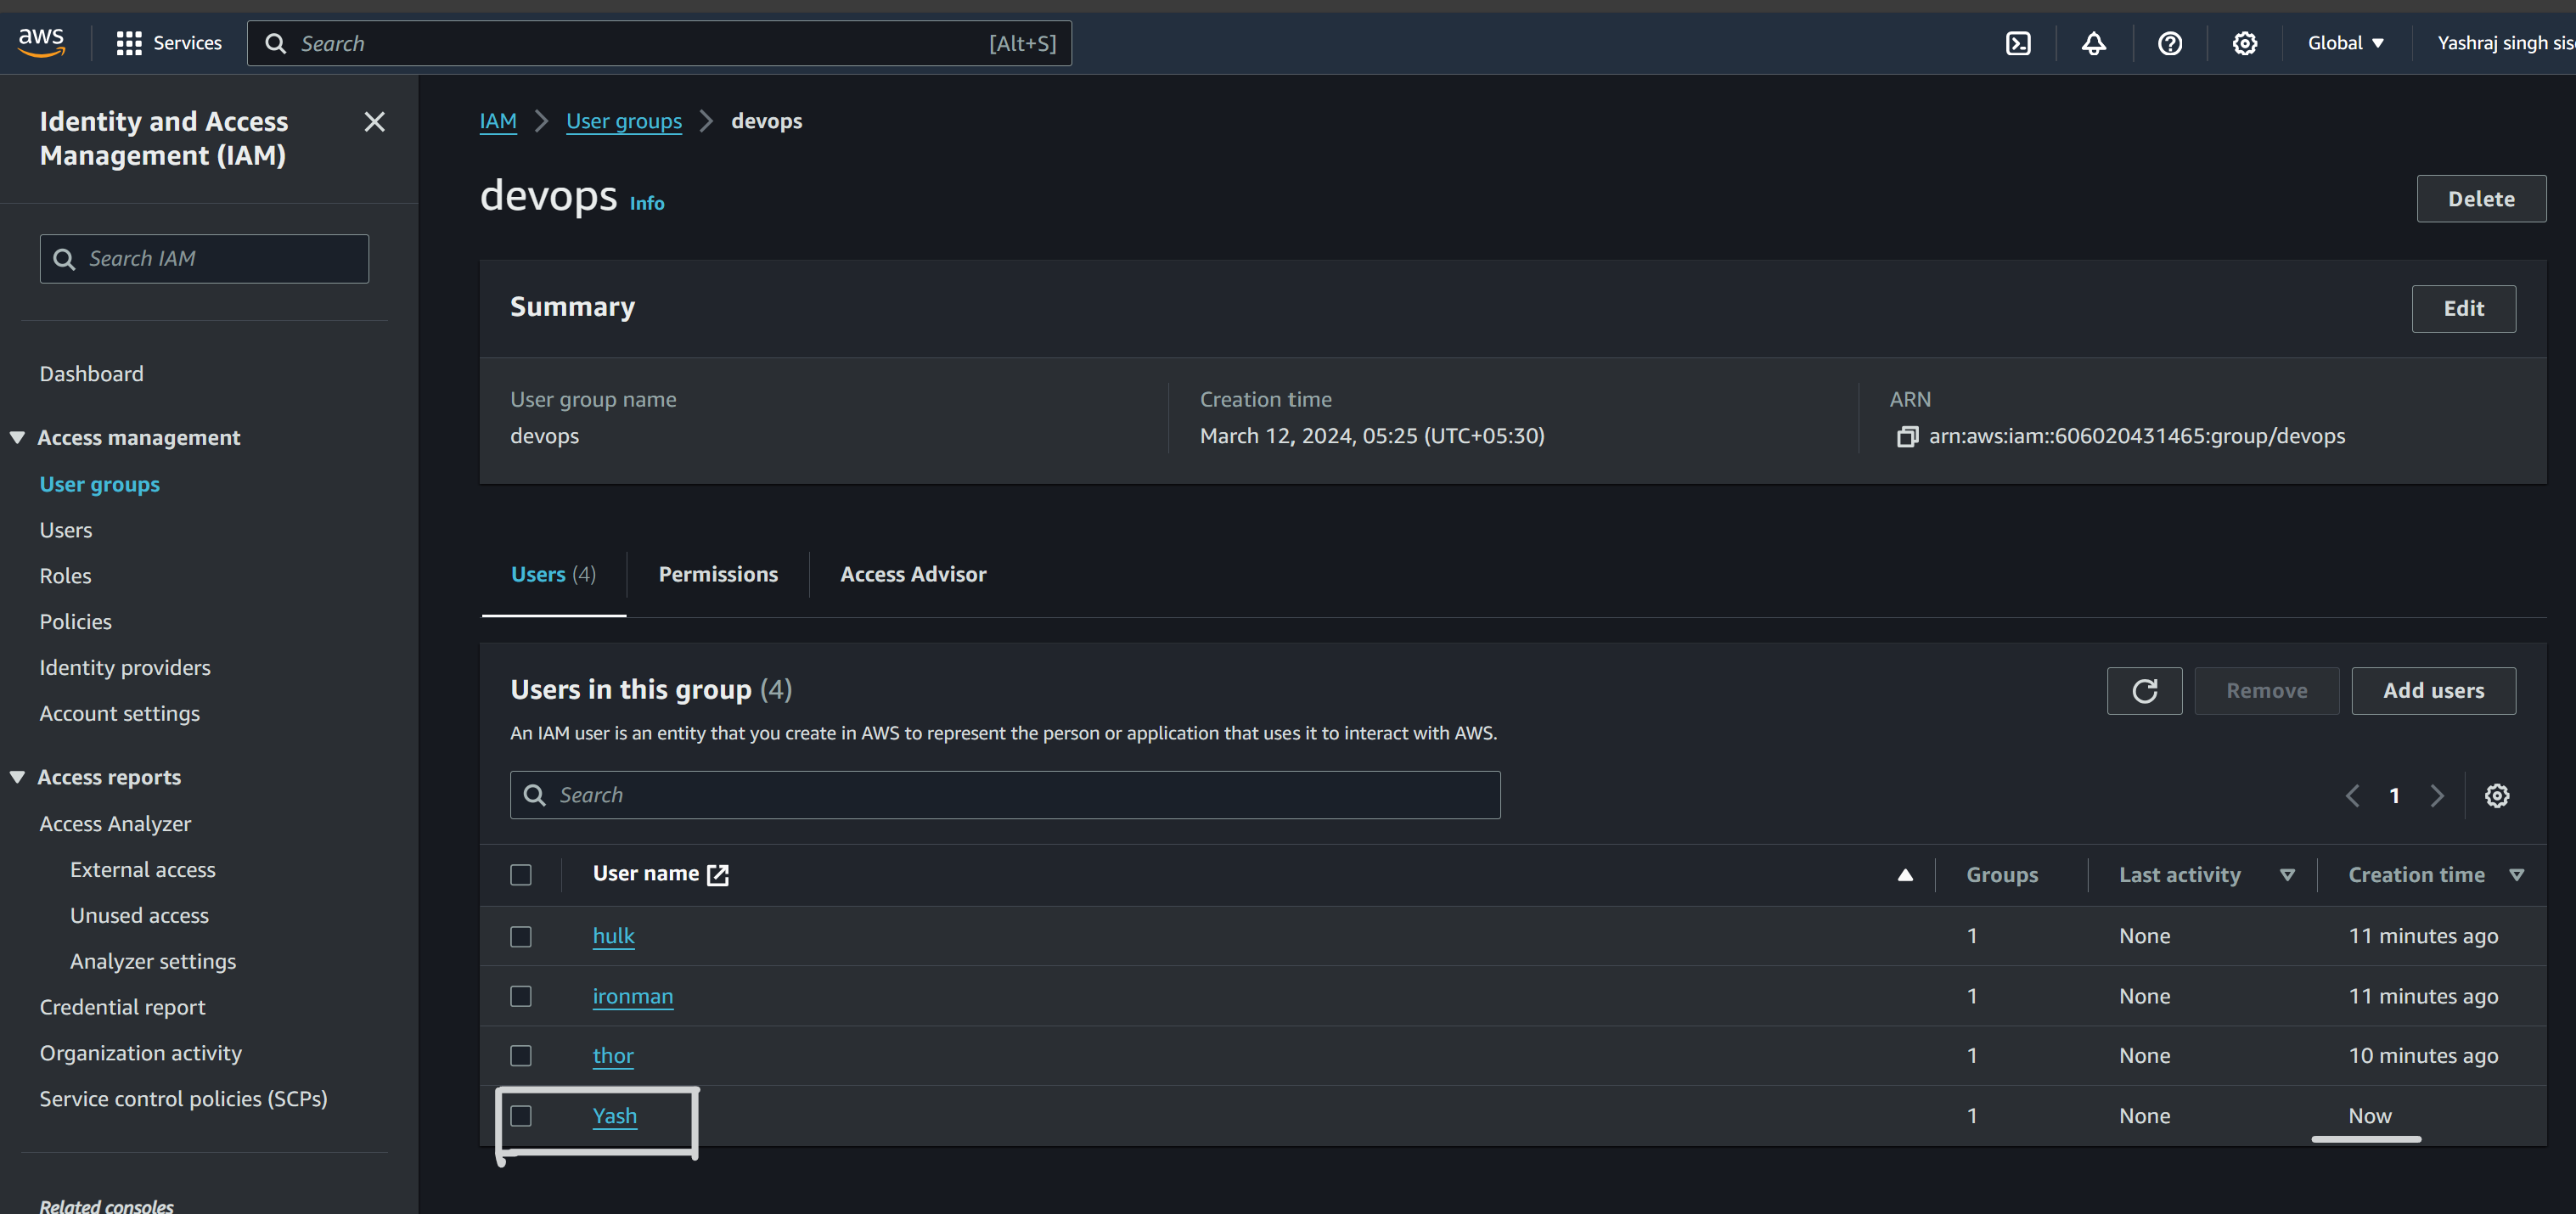
Create three IAM users, naming them after Avengers characters (e.g., ironman, thor, hulk).
Step 2: Create a DevOps Group
Click on "Groups" and then "Create group".
Name the group "devops" and attach an existing policy called "AmazonEC2FullAccess".
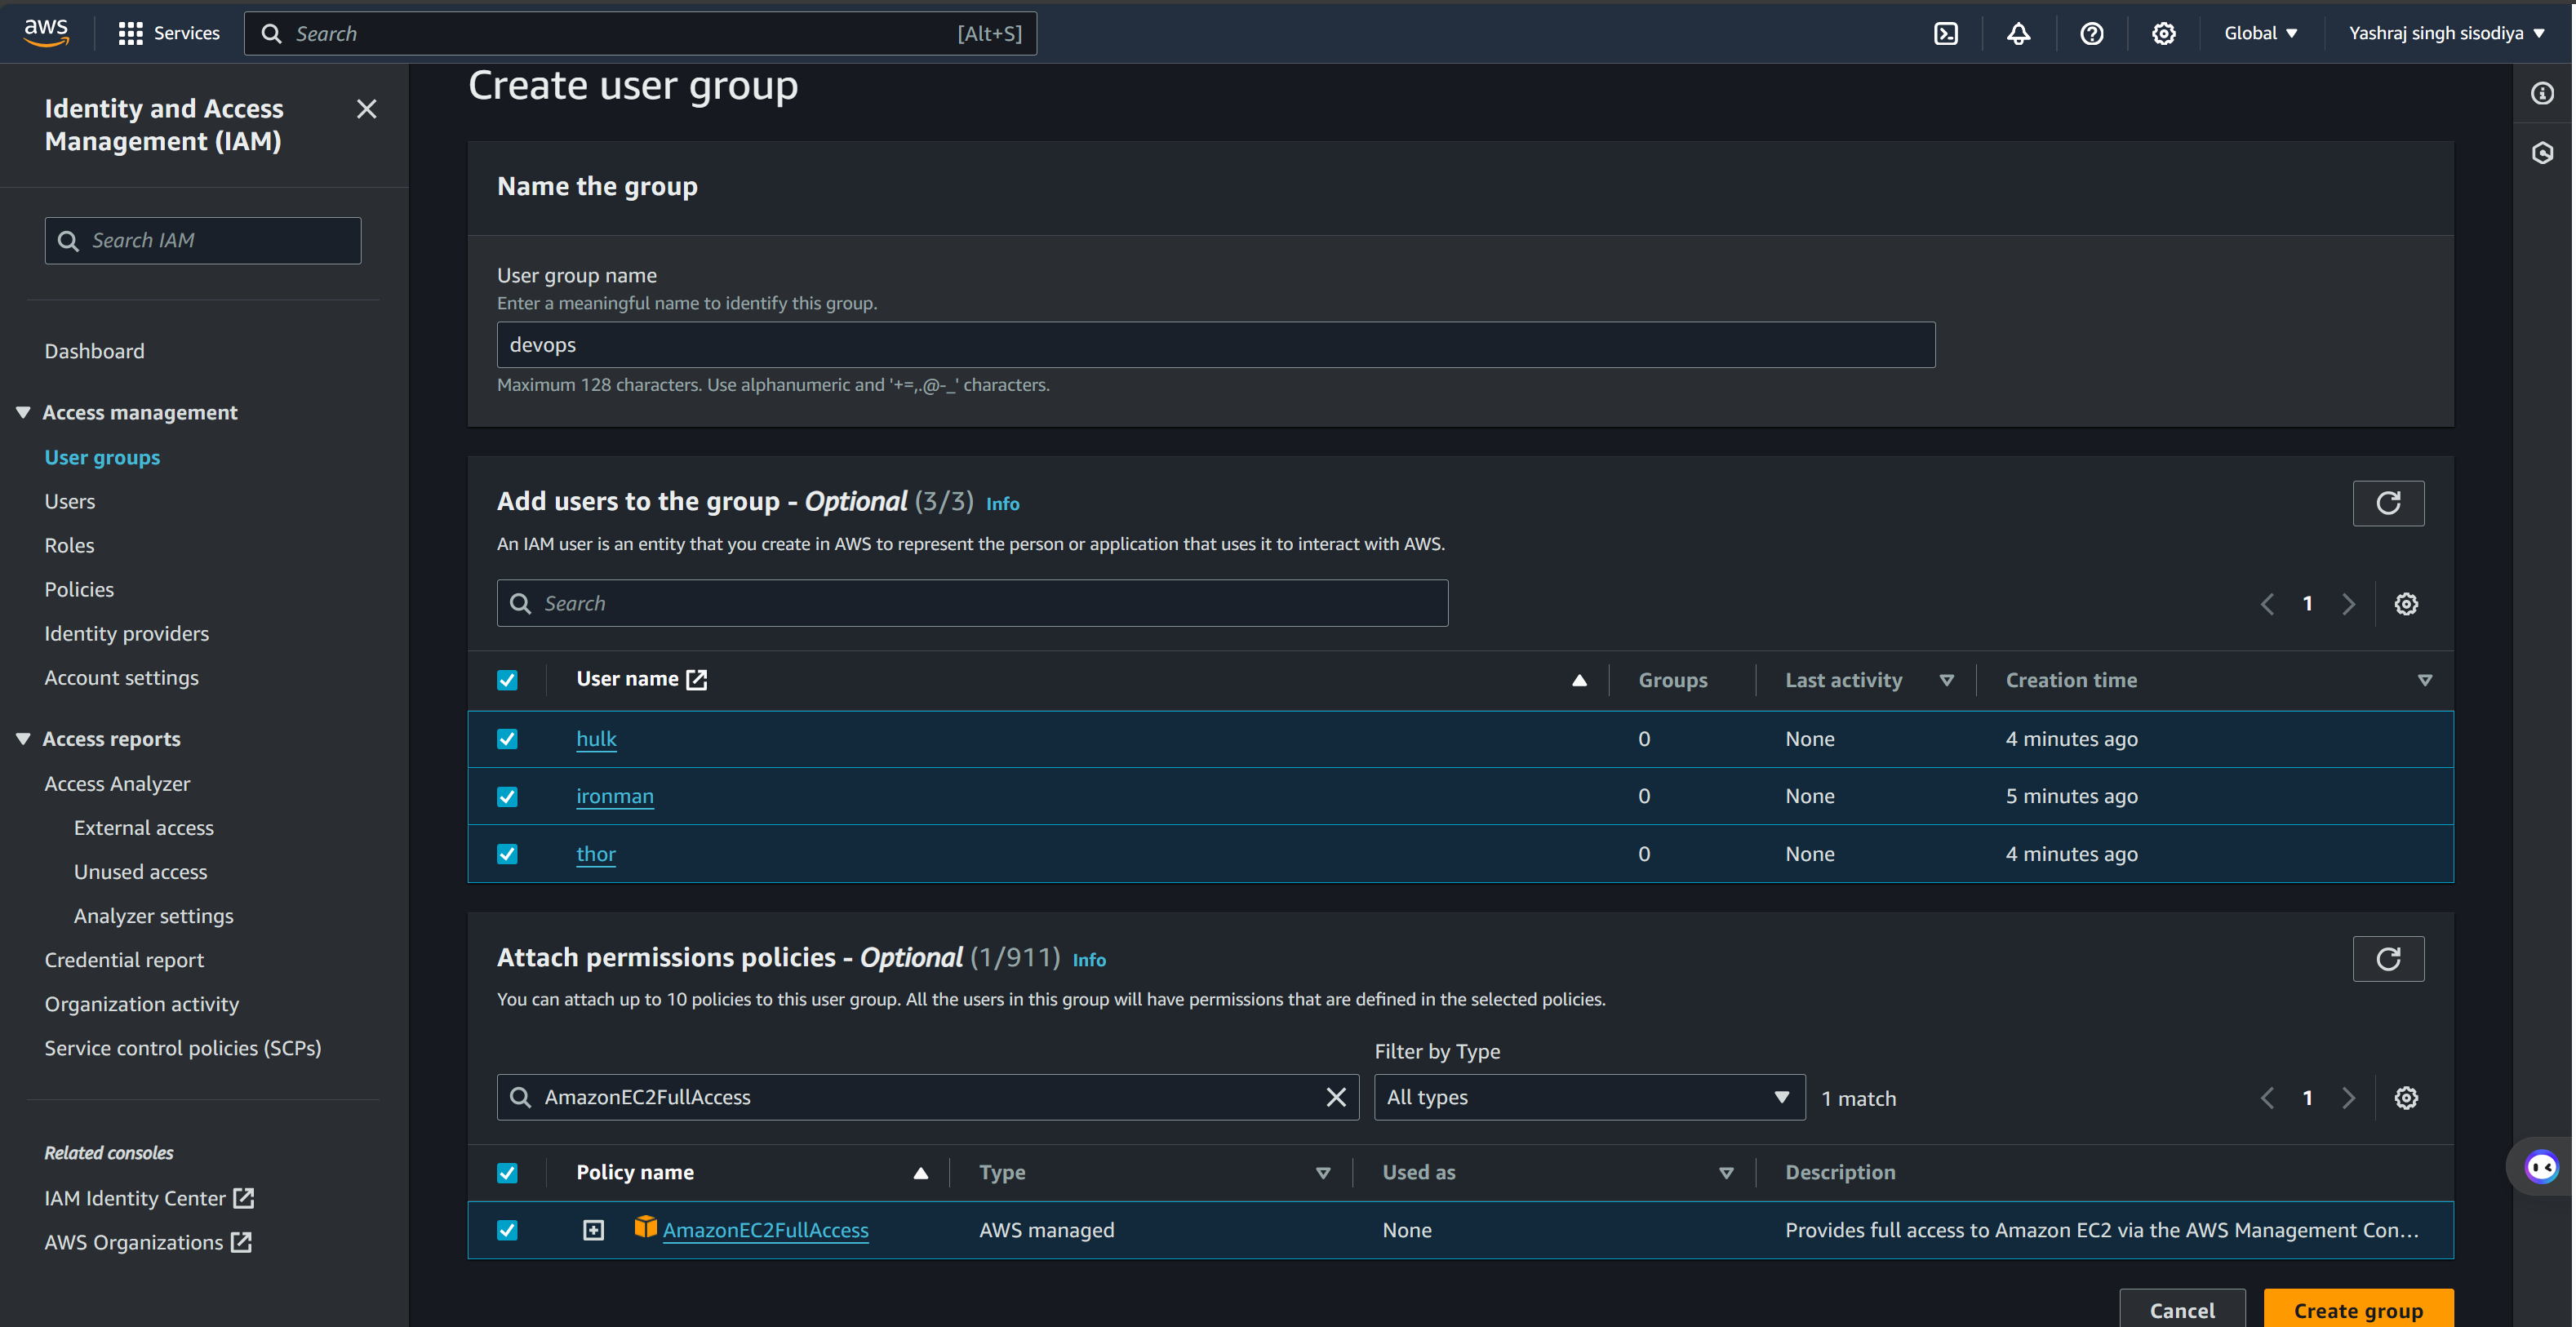
Step 3: Add Users to the DevOps Group
Select the "devops" group and click on "Add users to group".
Add the three IAM users you created earlier to the "devops" group.
Conclusion
Congratulations! You've successfully learned how to manage user access with IAM and launch EC2 instances in AWS. These fundamental skills will serve as a solid foundation as you continue to explore and leverage AWS services for your projects and applications. Keep exploring and happy cloud computing!


